

How To Set A Brother Sewing Machine
If you make a purchase through an affiliate link, I may earn a small-scale commission at no extra toll to you.
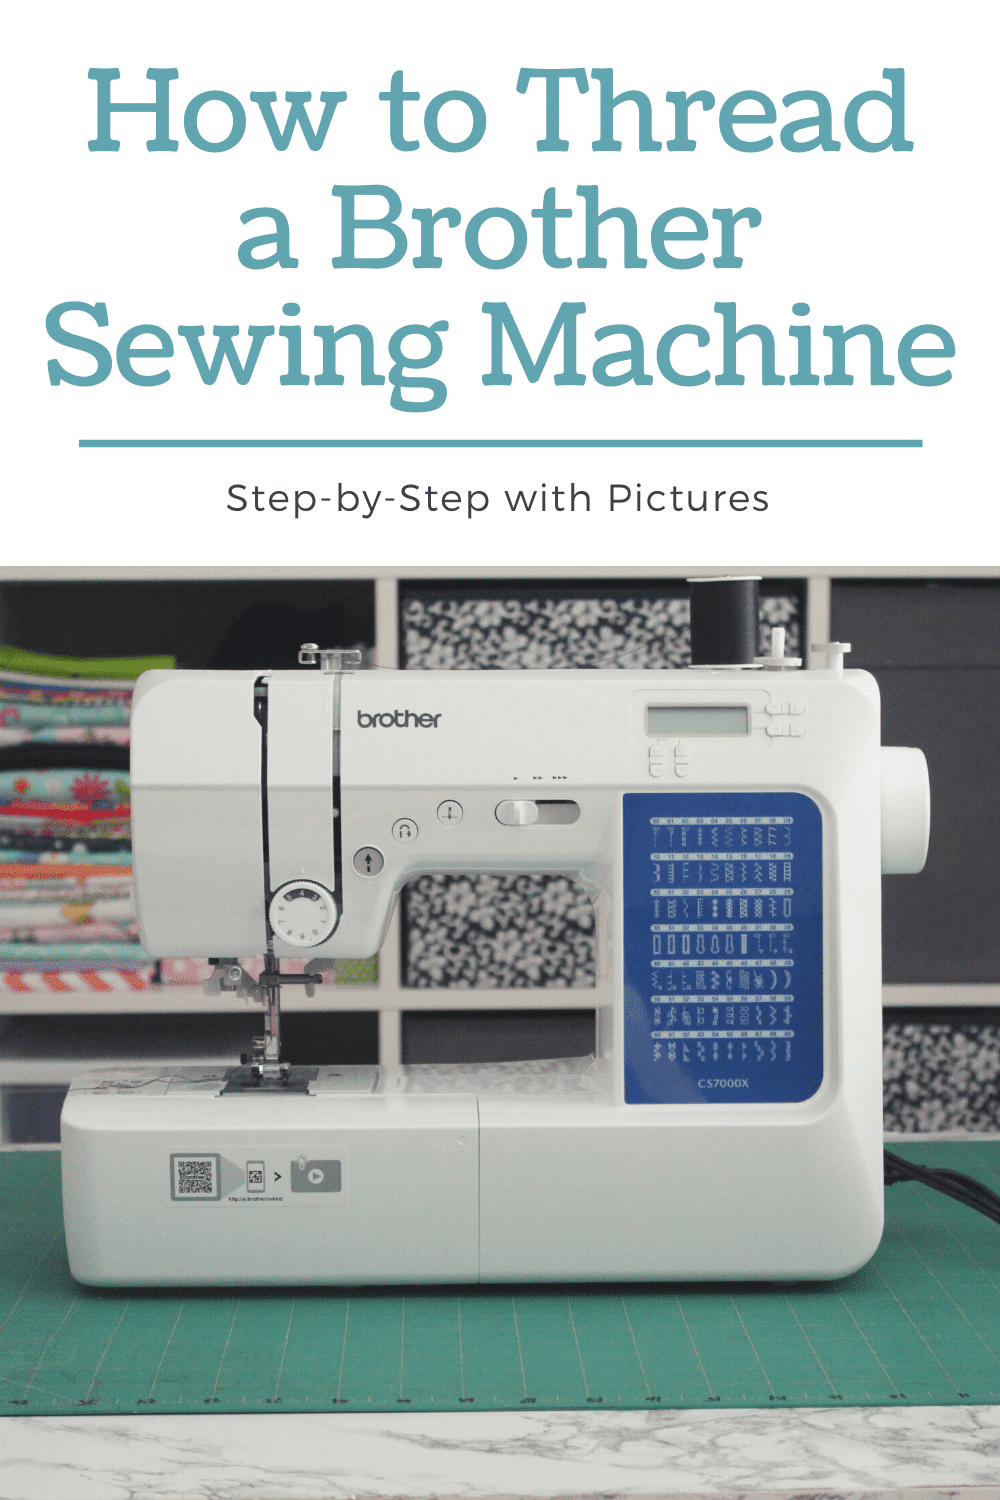
Learning to thread a Brother sewing machine for the first time can be difficult! When I first got my Brother CS6000i sewing machine, it took several tries to get everything figured out. Especially that darn automatic needle threader.
You tin can observe diagrammatic instructions for threading a Blood brother sewing machine in your manual, the quick-start guide, or on the torso of your sewing motorcar. Yet, I e'er adopt real pic tutorials. And then that's why I'll be showing y'all how to thread your Brother sewing auto using my Brother CS6000i as a model.
I'll comprehend how to thread the upper thread through the needle, how to thread the bobbin on a Brother sewing machine, and how to install the bobbin.
This tutorial should utilise to near Blood brother sewing machine models like the Brother CS7000i, Brother CS7000X, Brother GX37, and many other recent models of Brother sewing machines. Some of the Brother heavy-duty sewing machines and embroidery machines may have slightly different mechanisms, but you should be able to extrapolate how to thread them well enough.

How to Thread a Bobbin on A Brother Sewing Auto
If yous've simply taken your brand new Brother sewing auto out of its box, the commencement thing you'll need to practise is wind the bobbin.
Make certain to simply use compatible Blood brother bobbins for your sewing machine. In the case of most Brother sewing machines, this will exist Class 15, SA156 plastic bobbins.
To begin the bobbin-winding procedure, offset, pull the spool pin all the way upwardly or out, and place your spool of thread on it. If your machine has a horizontal spindle, you may need to identify the spool cap over it. My vertical spindle machine does non demand a spool cap. For my vertical spool pivot, I put the thread where it pulls from behind and to the left.
Then, pull the thread end out, and pass the thread around the pre-tension deejay on the left of the auto trunk. Go nether the disk and effectually counter-clockwise. Yous'll be able to feel once the thread slips under that disk.

Put the bobbin on the bobbin winder shaft. In that location's a jump on the shaft that should slide into the bobbin groove as you turn the bobbin clockwise. You will feel it kind of click into place.

Slide the shaft to the right. You will feel it click into place.

For Blood brother sewing machines with a fast bobbin-winding arrangement: Hold the cease of the thread with your left hand, and with your right hand, wrap the gratuitous end of the thread clockwise effectually the bobbin several times.

Pass the thread through the slit in the base of the bobbin seat to trim the excess thread.

Depress the foot pedal all the way or touch the on/off button and slide the speed controller to the right. The bobbin will brainstorm winding quickly!
When the bobbin is most full, it will start slowing down, and almost models will stop winding completely. Accept your foot off the pedal or printing the cease push button.
For Brother sewing machines without fast bobbin-winding: Insert the end of the thread into one of the holes in the bobbin. Turn on the sewing machine and either press the start push button (if your machine is computerized) or printing the foot pedal down while holding the end of the thread. Employ low foot pressure or the slowest slider speed when pressing offset/stop to current of air the thread a few times. Then, press down harder or increase speed to fully wind the bobbin.
For all sewing machines, at present prune the excess thread and slide the bobbin winding pivot back to the left. Remove the bobbin and check to make sure it's wound evenly and not besides loosely.

How to Install The Bobbin on a Brother Sewing Machine
After the bobbin is threaded, information technology'due south time to install the bobbin on your Blood brother sewing machine. The newer Blood brother sewing machines feature quick-set, top-drop bobbins, which are simple to prepare.
Plow the power off on your machine and enhance the needle to its highest position. Practise this using the needle up push on computerized machines or turning the handwheel towards you lot. Heighten the presser human foot also.
Press the push button almost the bobbin cover on the base of the machine to the right to open the comprehend. Remove the embrace.

Drop your bobbin in. The thread needs to exist coming out the top of the bobbin, not the bottom. You should be able to see the directions on the base of your sewing auto for a diagram reference. If you were to pull your thread, the bobbin would spin counterclockwise.

Feed the finish of the thread through the bottom slit, and pull it around equally directed to cut information technology. The thread will need to be correctly inserted through the tension spring on the bobbin case to maintain proper bobbin tension.


Replace the bobbin case encompass. The left tab goes nether the base, and the right side will click into identify.

Threading the Brother Sewing Machine Upper Thread
Once the lower, bobbin thread is fix, it's time to thread the upper thread on your Brother sewing machine.
Brand certain your sewing car is withal off, the presser foot is elevated, and the needle is in the upwards position. Ensuring these things are in the correct position help preclude sewing machine tension issues. The spool of thread should still be on the spool pin.
Feed the thread through the commencement thread guide on the top left of the motorcar. It'due south a silverish upside-down L-shaped piece. Become from dorsum to forwards with the thread.

Pull the thread downwardly and pass the thread through the guides and tension discs in the U shape on the front of your machine from right to left. Arrows on the car will testify you the direction.


At the far top, left of this guide, at that place's going to exist a thread take-up lever. Make sure the thread is going into this lever.

Wrap the thread around the takeup lever, which is a silvery claw above the needle base. At that place's an opening on the back right you can get the thread through.

Pass the thread through the eye of the needle from front to back and pull the thread a few inches out. Place it below and then backside the presser human foot.
If you have an automatic needle threader, keep reading if y'all're not wanting to manually thread the needle. If y'all don't and have problems threading the needle, check out my tips and tools to assistance thread a sewing machine needle.
How to Use the Blood brother Automatic Needle Threader
While the idea of an automatic needle threader is appealing, the reliability and ease of use of this device are lacking, in my opinion. To thread your Brother automobile using the automatic needle threader, you need to follow the in a higher place steps and stop correct before placing the thread through the centre of the needle.
Then, lower the presser foot using the lever.
Lower the needle threader lever about halfway (gray lever on the left of the machine), and hook the thread onto the guide. Information technology'south an upside-down V shape. The thread should become from top right and nether the V to then around the guide to the right. As if y'all were threading counterclockwise.

Lower the needle threader all the way. You'll meet the hook laissez passer through the middle of the needle as the threader rotates towards you.
Within the large claw that'due south at present in the eye of the needle, in that location's a super tiny hook. Pull your thread back all the mode into the big hook and take hold of it on the tiny hook. It helps to grab the hook more easily if you run the thread along the back of the guide from bottom to top using your hands.

Keep agree of the free end of the thread. Then, release the needle threader lever. As it rotates back in place, the thread will be pulled through the eye of the needle. Pull the thread out a few inches and place it behind and below the presser foot before you offset sewing.

As I mentioned, I think this is a complicated, choosy appliance. My inside hook is always bending the wrong mode, and it's a pain to keep adjusting information technology so it will fit through the eye of the needle on its own. Seeing every bit I don't take whatsoever dexterity or visual issues, I prefer to thread by hand!
The dazzler of Brother quick-set bobbins is once the thread goes through the eye of the needle, y'all're set up! At that place'due south no reason to fiddle with drawing upwardly the bobbin thread. The sewing machine will practice that itself in one case yous start sewing.
Conclusion
You've at present learned how to thread a Brother sewing automobile!
Specifically, threading the upper thread, winding the bobbin, installing the bobbin, and cartoon up the lower thread when y'all start sewing. If you forget how to thread the next time you go try, just remember, virtually Brother sewing machines include instructions on the body of the machine! Once you've expert threading a few times, you will notice it becomes second nature.
Experience free to check out some easy sewing tutorials while you're here! And, if you're completely new to sewing, read more about the all-time threads for a Brother sewing machine to see what threads are compatible with your new machine.

Source: https://www.sewingmachinefun.com/how-to-thread-a-brother-sewing-machine/
0 Response to "How To Set A Brother Sewing Machine"
Post a Comment